
Field dressing a deer involves removing the internal organs immediately after the harvest to cool the meat and prevent spoilage. This process requires a sharp knife to make a precise incision from the pelvic bone to the brisket, followed by the careful removal of the entrails while keeping the stomach and bladder intact. Proper technique ensures the venison remains clean, high-quality, and safe for consumption.
The silence that follows a clean shot is often replaced by a sudden, heavy pressure. You realize that the real work has just begun, and the window to preserve the quality of your venison is closing with every passing minute. For many Vermont hunters, the transition from the excitement of the harvest to the technicality of the knife is where uncertainty takes root. Proper field dressing is not merely a chore; it is the final act of respect for the animal and the most critical step in ensuring your meat remains pristine. In this guide, we will navigate the essential moments following the shot. You will learn how to track effectively, adhere to Vermont tagging and reporting laws, and master the step by step process of field dressing to ensure your harvest is handled with the precision it deserves.
The Moments After the Shot: Patience and Observation

The sharp crack of a rifle or the snap of a bowstring marks the beginning of a different kind of work. One of the most common mistakes a hunter can make is rushing into the woods immediately after pulling the trigger. Adrenaline is a powerful chemical; if a deer is pushed too soon, it can travel miles on a marginal hit, leading to a lost harvest and wasted meat. Instead, stay in your stand and use your optics to analyze the animal's reaction.
Watch for specific physical cues. A classic mule kick, where the deer jumps high and kicks its hind legs back, usually indicates a solid heart or lung shot. Conversely, a deer that hunches its back and walks away stiffly often suggests a gut shot. Before you move, pick out a specific landmark where you last saw the animal. In the dense Vermont woods, looking near the big tree is not specific enough. Look for a distinctive yellow birch with peeling bark, a jagged rock outcropping on a ridgeline, or a specific cluster of sugar maples. Marking this spot is vital for finding the initial blood trail.
Follow the standard sit and wait rule. If you are confident in a double lung or heart shot, wait at least 30 minutes before descending. If the reaction suggests a gut shot, you should wait at least six to eight hours; this prevents pushing the deer while it is still mobile. Giving the animal time to bed down and expire naturally ensures that when you finally begin field dressing a deer, you are doing so at the end of a successful recovery. If you need to upgrade your optics or restock your hunting gear and accessories, stop by our Rutland gun shop before your next trip into the Green Mountain National Forest.
How to Track a Deer: Reading Blood and Ground Signals
Once your waiting period is over, move quietly to the point of impact. The first thing to examine is the blood. Bright red, frothy blood indicates a lung shot; the bubbles are caused by air escaping the respiratory system. If you find dark, thick, maroon blood, you have likely hit the liver. This requires more patience, as a liver shot deer may travel further than a lung shot one before expiring. Finding blood with a greenish tint or a distinct odor of stomach contents confirms a gut shot. In this case, back out quietly and give the animal several more hours to avoid pushing it.
In the dense undergrowth of the Green Mountain National Forest, blood can be difficult to spot on dark hemlock needles or thick moss. If the blood trail goes cold, look for ground signals. A running deer will often overturn leaves, exposing the dark, damp undersides which contrast against the dry forest floor. Look for broken stems of ferns or scuffed soil where the hooves pushed off. These subtle markers are often more reliable than a sparse blood trail in thick Vermont brush. To see these details clearly as light fades, a high output light from our Rutland gun shop is an essential part of your tracking kit.
Digital tools like onX or Gaia are excellent for marking your progress and creating a path back to your truck, but do not rely on them exclusively. Cell service is notoriously spotty in many pockets of Rutland County. Traditional tracking skills, such as flagging your trail with biodegradable tape or marking your position relative to high ridges, remain essential. Tracking is the final hurdle before you can begin the physical process of field dressing a deer. Success here depends on your ability to read the forest floor as much as the blood trail itself.
Vermont Tagging Requirements: The First Legal Step
Finding your deer at the end of a blood trail is a moment of relief, but the legal clock starts the second you reach the carcass. Vermont law requires you to tag the animal immediately, before you begin field dressing a deer or move the body from the site of the kill. This is not just a formality; it is a mandatory step that must be completed before any physical processing begins.
Your tag must be filled out legibly with your name, address, the date and time of the harvest, the town where it occurred, and the specific Wildlife Management Unit (WMU). Since Vermont weather often fluctuates, use a permanent marker to ensure the ink does not bleed. Attach the tag securely to an ear or an antler. We suggest using a heavy duty zip tie rather than simple string, as it is less likely to snag and tear off while you are dragging the animal through thick brush or over the jagged terrain of the Green Mountain National Forest. If you forgot a pen or need a reliable field knife, stop by our Rutland gun shop to stock up on essentials before heading back out.
Essential Tools for Field Dressing a Deer
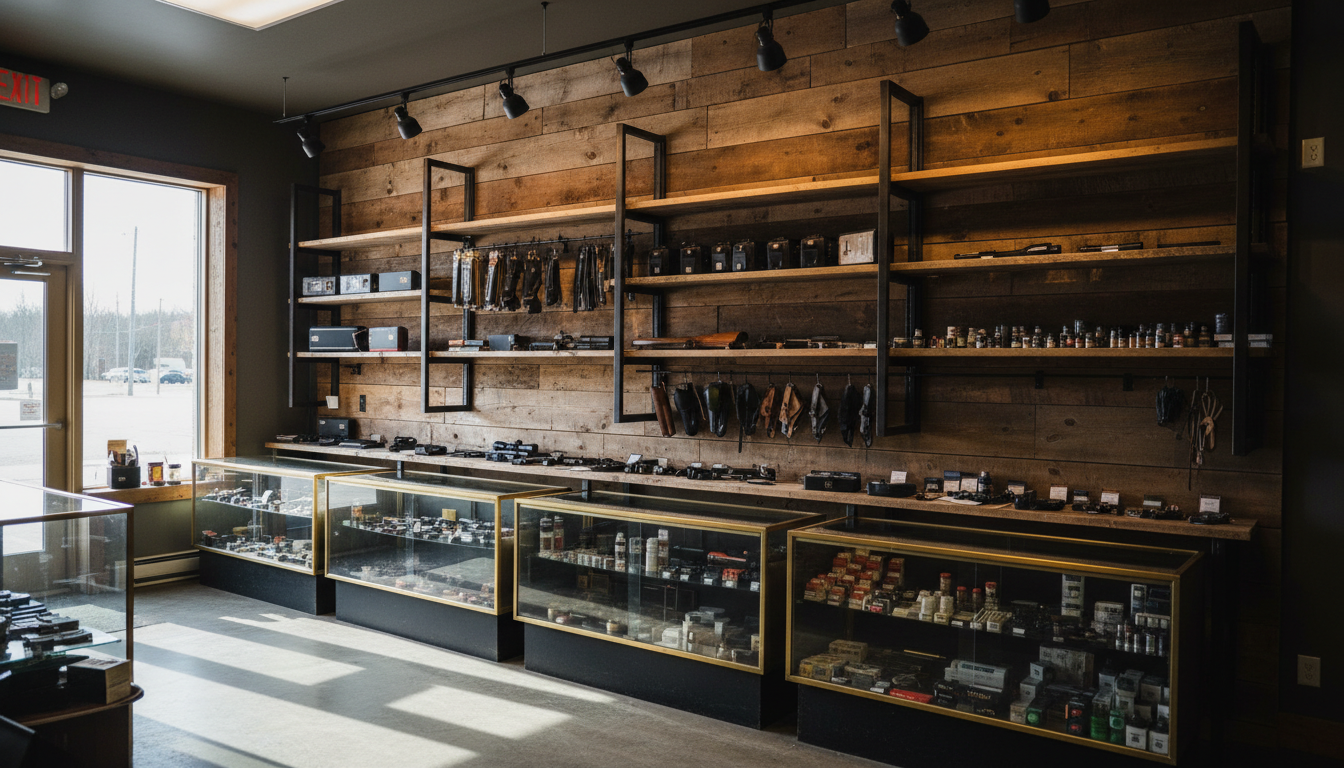
Once the tag is secured, you need the right kit to handle the heavy lifting. Efficient field dressing a deer relies on tools that stay sharp and provide a secure grip, even when wet. At our Rutland gun shop, we recommend a high quality fixed-blade knife or a replaceable-blade system. Replaceable blades are particularly useful for hunters who do not want to stop and sharpen steel in the middle of the woods. For beginners, a knife with a gut hook is a smart investment. This specialized tool works like a zipper, allowing you to open the hide while keeping the sharp point of the blade turned away from the stomach and bladder. Puncturing these organs can release fluids that taint the meat, so the hook provides an extra layer of protection.
In addition to your primary blade, carry a compact bone saw. While some hunters use their knife to split the brisket or pelvic bone, a saw is much safer and prevents edge damage to your cutlery. We stock several hunting gear and accessories that make this process easier, including long-cuff latex gloves to keep your sleeves clean. Finally, never head out without a high-lumen headlamp. Vermont sunsets arrive quickly in the late afternoon, and trying to navigate the internal anatomy of a deer while holding a flashlight in your teeth is a recipe for a mistake. Having both hands free ensures your cuts are precise and your work is safe.
Step by Step: How to Field Dress a Deer for the First Time
With your hunting gear and accessories ready and the tag firmly attached, it is time to begin the physical work. Before you make your first cut, identify the tarsal glands on the inside of the hind legs. These are the dark, tufted patches of hair that carry a heavy musk. Never touch these glands and then touch the meat, as the oils will immediately taint the flavor of your venison. If you do accidentally handle them, change your gloves or wash your hands thoroughly before continuing.
Field dressing a deer is a systematic process. Following these steps in order ensures the meat remains clean and the job stays manageable.
Position the Carcass: Place the deer on its back with the head slightly uphill if the terrain allows. Use large rocks, logs, or a partner to hold the legs spread wide. This provides a clear work area and prevents the carcass from rolling while you are using sharp tools.
The Initial Incision: Start at the base of the brisket, which is the bottom of the ribcage. Make a small, shallow cut through the hide and the muscle layer until you see the internal cavity. Be careful not to poke deeply, as the stomach sits just below the surface.
Opening the Abdomen: Insert your knife into the small hole with the blade facing upward, away from the organs. Place your index and middle fingers inside the cavity, forming a 'V' around the back of the blade. As you slide the knife down toward the pelvic bone, use your fingers to push the entrails down and away from the sharp edge. This 'two-finger' shield is the best way to avoid puncturing the stomach or bladder.
Address the Vent: Move to the rear of the deer. Carefully cut a deep circle around the anus, ensuring you do not nick the colon. Once it is free from the surrounding tissue, pull it out slightly and tie it off with a piece of string or a small zip tie. This prevents any waste from spilling into the body cavity as you pull the organs through the pelvic canal.
Release the Upper Organs: Return to the chest. Use your bone saw to split the brisket all the way up to the base of the neck. Reach inside the neck to find the windpipe and esophagus. Cut them both as high up as you can reach.
The Final Pull: Grasp the windpipe and pull firmly toward the tail. You may need to use your knife to slice the diaphragm, which is the thin wall of muscle attached to the inner ribs. With the diaphragm cut, the heart, lungs, stomach, and intestines should slide out of the body as one continuous unit.
Once the cavity is empty, tip the deer over to drain any remaining blood. If you notice any debris or hair inside, use a clean cloth to wipe it out. Keeping the meat clean at this stage is easier than trying to fix it later. If you find your equipment is dull or difficult to use after the job, bring your blades to our Rutland gun shop for advice on replacements or inquire about our professional cleaning services for your firearms to keep your entire kit in top shape for the remainder of the season.
Vermont Harvest Reporting Rules: Online and In Person
Once you finish field dressing a deer and move it to your vehicle, the clock starts on your legal reporting requirement. Vermont Fish and Wildlife regulations mandate that every deer must be reported within 48 hours of the kill. This data is the primary tool the state uses to manage the herd, determine antler restrictions, and set tag quotas for future seasons.
While the state now offers a convenient online reporting portal, many Rutland County hunters still value the tradition of visiting a physical check station. During certain times, such as the youth weekend or the first weekend of the November rifle season, the state may require physical reporting to collect biological samples. Biologists often look for the deer's weight and will sometimes remove a small premolar tooth to accurately determine the animal's age. This information provides a snapshot of the health and age structure of the local population.
If you opt for online reporting, you must still have all your harvest details ready, including the town of kill and the Wildlife Management Unit. For those who prefer the traditional route, several local spots in and around Rutland remain active check stations. If you find yourself passing through town after a successful hunt, stop by our Rutland gun shop to restock on hunting gear and accessories or to ask about our professional cleaning services for your rifle before the next phase of the season.
Transport and Cooling: Protecting Your Meat
After the legal requirements are met, your focus must shift immediately to meat preservation. Heat is the primary enemy of venison quality. In Vermont, while late November rifle season can be freezing, early archery or muzzleloader seasons often bring unseasonably warm afternoons. If the internal temperature of the carcass remains high for too long, bacteria will begin to spoil the meat, resulting in a gamey or off-flavor that no amount of seasoning can fix.
Once you have finished field dressing a deer, your first priority is to drop the core temperature. Find a clean, sturdy stick about eight to ten inches long and use it to prop the ribcage open. This simple step allows air to circulate through the chest cavity, cooling the tenderloins and the thickest parts of the front shoulders. If you are facing a long drag back to the truck in the Green Mountain National Forest, ensure the cavity stays clear of forest debris like damp leaves or mud, which can trap heat and introduce bacteria.
The timeline for processing depends entirely on the thermometer. If the ambient temperature is above 40 degrees Fahrenheit, you should get the deer to a cooler or begin butchering as soon as you get home. However, if you can maintain a consistent temperature between 34 and 38 degrees, aging the deer for three to seven days can improve tenderness by allowing natural enzymes to break down connective tissues. If your equipment took a beating during the harvest or transport, bring it by our Rutland gun shop for professional cleaning services. We also stock the hunting gear and accessories needed to keep your harvest clean and protected from the field to the freezer.