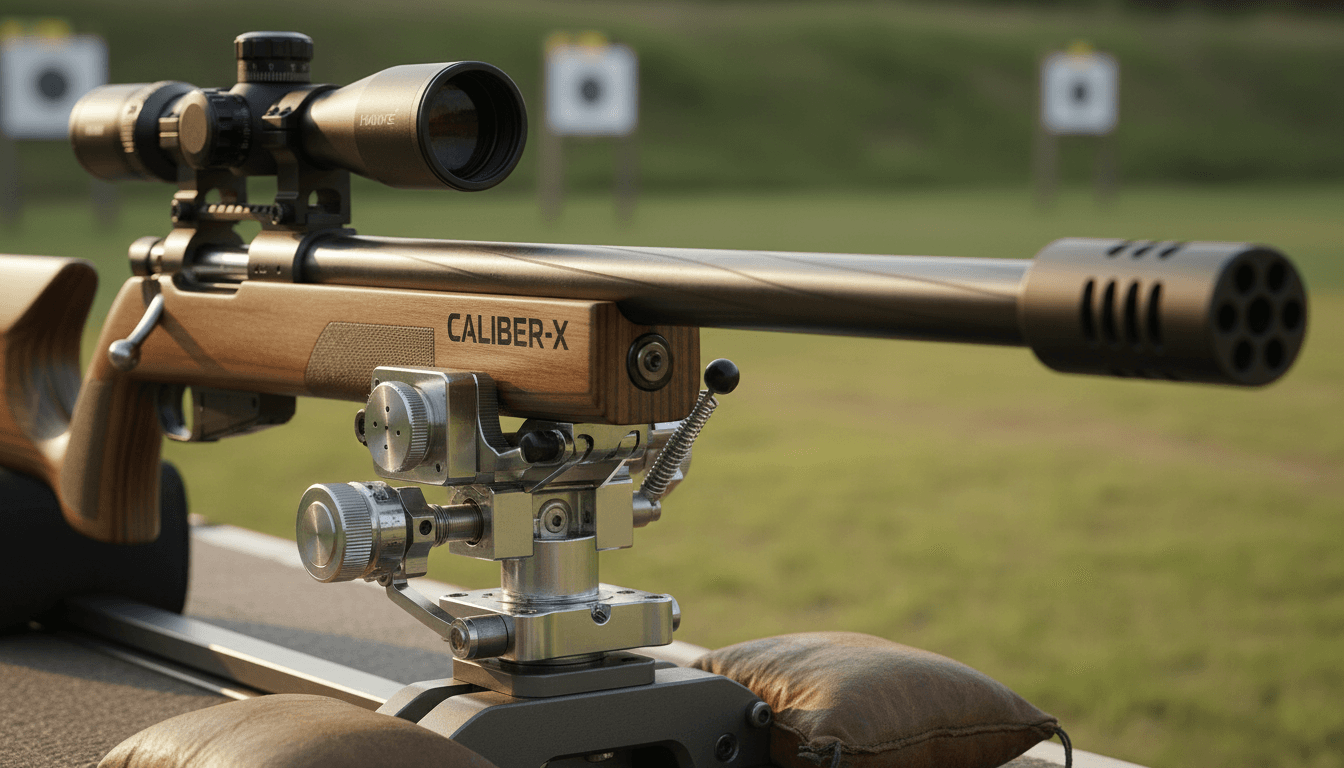
A rifle scope won't hold zero most often because of loose mounting hardware, improper torque on the rings, or internal mechanical failure within the optic. Ensuring all screws are tightened to manufacturer specifications with a torque wrench and using high quality mounting systems will typically fix these accuracy issues. Regular maintenance and proper installation prevent recoil from shifting the reticle over time.
Few things are as frustrating as lining up the perfect shot during a Vermont deer season only to watch your round impact inches away from where you aimed. You spent your weekends scouting the Green Mountains and your mornings checking trail cams, yet a shifting zero can render all that preparation useless. This is not just a minor technical glitch. It is a fundamental failure that compromises your confidence and your ethical responsibility to the game. Understanding why your optic is failing to maintain its point of impact is critical for any serious Rutland hunter. In this guide, we will analyze the hidden culprits behind wandering zeros, ranging from mounting errors to the unique environmental stressors of the Northeast. You will learn how to identify mechanical failures, the difference between a rough boresight and a true zero, and how to ensure your rifle is field-ready before you head into the woods.
The Frustration of a Shifted Zero Before Vermont Deer Season
Vermont’s deer season is the peak of the year for many of us in Rutland County. You pull your favorite bolt action out of the safe, grab a box of deer loads, and head to the range in Rutland or Proctor to confirm your setup. Last year, it was punching cloverleafs at a hundred yards. This year, your first group is scattered several inches from the bullseye. That sinking feeling in your gut is universal among hunters, especially when opening day is just a week away.
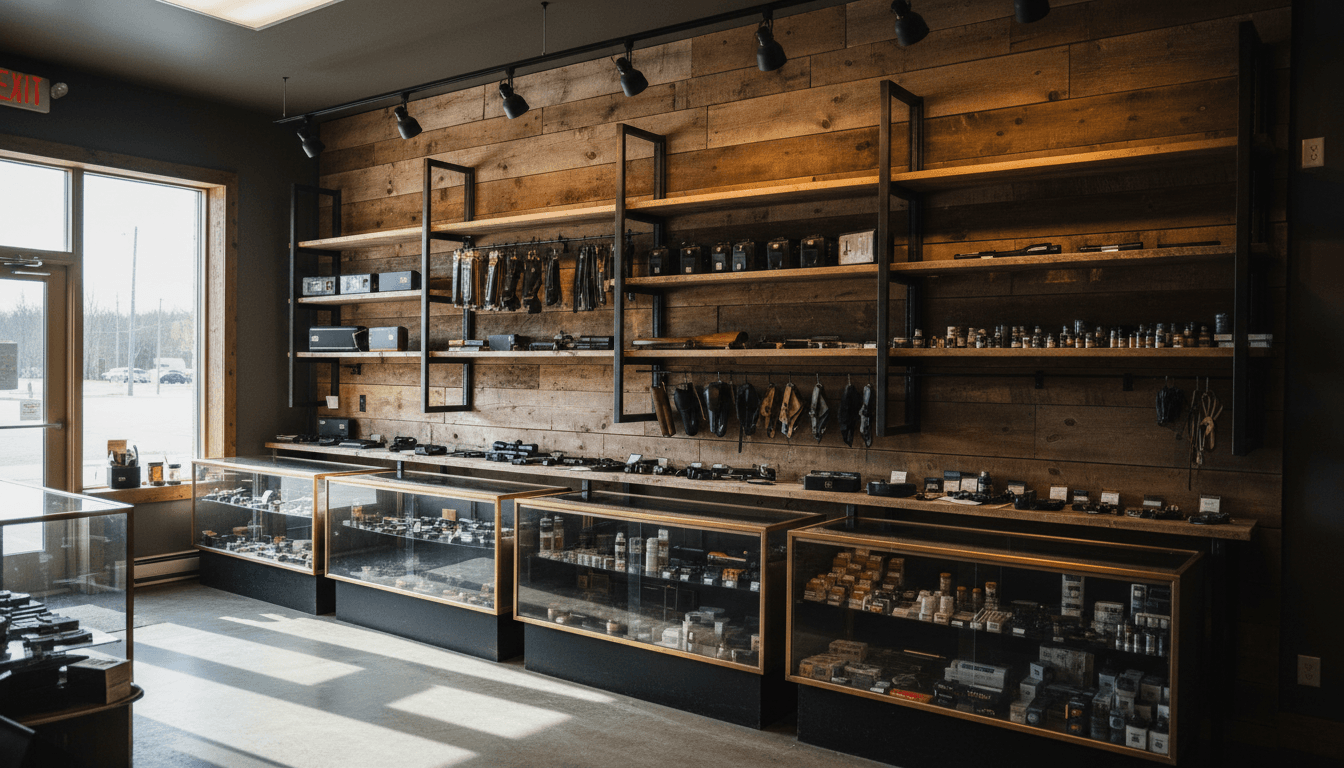
Holding zero is the literal foundation of a successful hunt. It is the technical term for a rifle’s ability to maintain a consistent point of impact relative to the reticle over time and through the violent stresses of recoil. When a rifle scope won't hold zero, the immediate reaction is often to blame the optics manufacturer. However, after years of providing professional gun services here in Rutland, we have found that the culprit is usually the mounting hardware or the installation process rather than the glass itself. Even when browsing a new selection of firearms and optics, it is important to remember that the bond between the rifle and the scope must be perfect to survive the rugged conditions of the Green Mountains.
The Hidden Culprits: Why Your Scope Won't Hold Zero
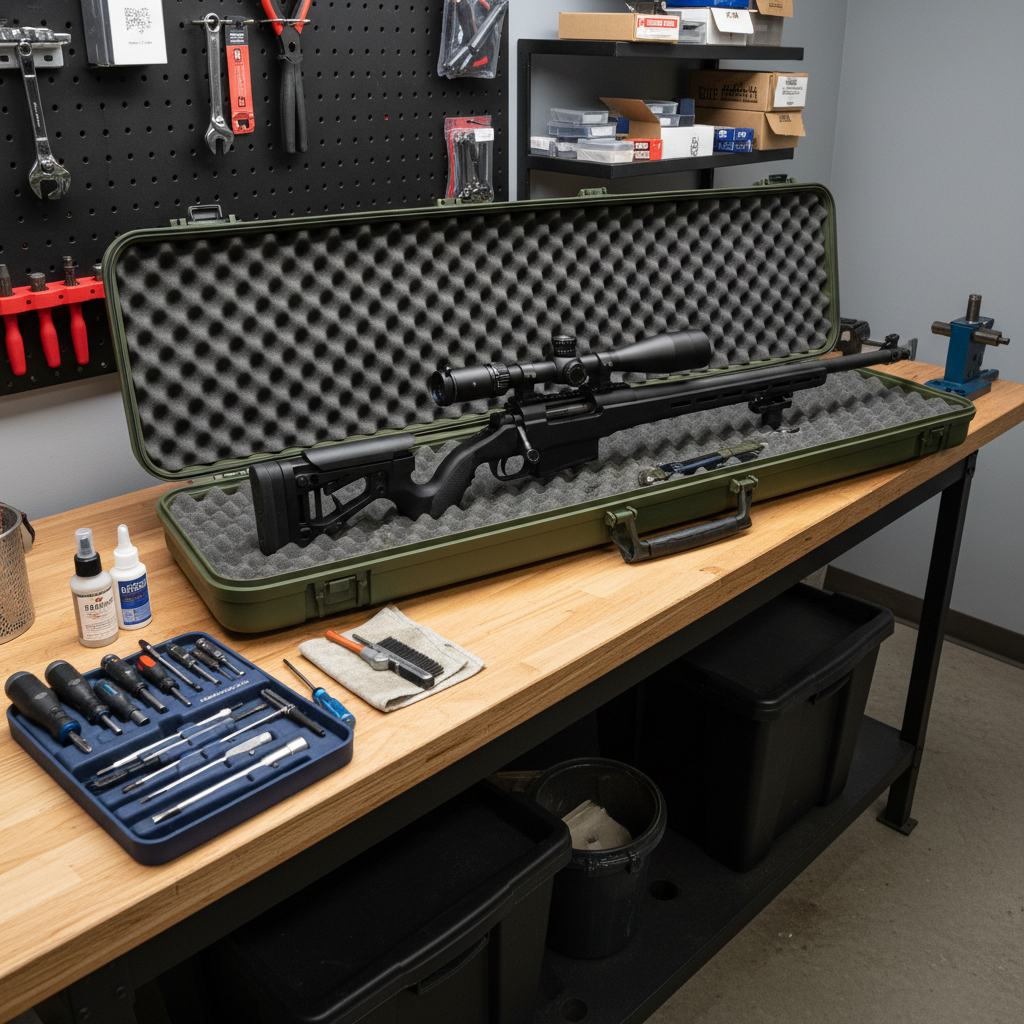
When a customer walks into ELC Pews asking why a scope won't hold zero, we look at the entire setup as a mechanical system. Recoil behaves like a jackhammer on every single component of your rifle. With each shot, energy vibrates through the steel and aluminum, searching for the weakest link. If your mounting system is not up to the task, that vibration eventually wins, shifting your point of impact and ruining your confidence.
Hardware failure is a primary culprit. Many hunters choose budget rings made of soft alloys to save money, but these materials are prone to stretching or deforming under stress. Once a ring loses its perfectly circular tension around the tube, the scope begins to move. You might notice a drift, where your point of impact slowly migrates away from the bullseye over several range sessions. This usually points to screws that are gradually backing out or hardware that is slowly yielding to the pressure.
Conversely, a scope that jumps indicates a more immediate mechanical failure. If your shot group suddenly shifts three inches to the left after a single round, you likely have a loose base screw or a failure in the internal erector assembly. We categorize these issues into three distinct areas:
Category | Common Symptoms | Potential Root Cause |
|---|---|---|
Hardware Failure | Deformed ring caps, stripped threads | Soft alloys, manufacturing defects |
Installation Error | Reticle cant, loose bases | Improper torque, lack of thread locker |
External Factors | Vertical stringing, shifting zero | Temperature swings, rough transport |
Poor installation is just as common as hardware failure. Even a high-end new selection of firearms and optics will fail if the base screws were not degreased before the thread locker was applied. When we perform professional gunsmithing services in our Rutland shop, we often find that the problem is not the glass itself, but the interface where the metal meets the rifle.
Common Scope Mounting Mistakes That Ruin Accuracy
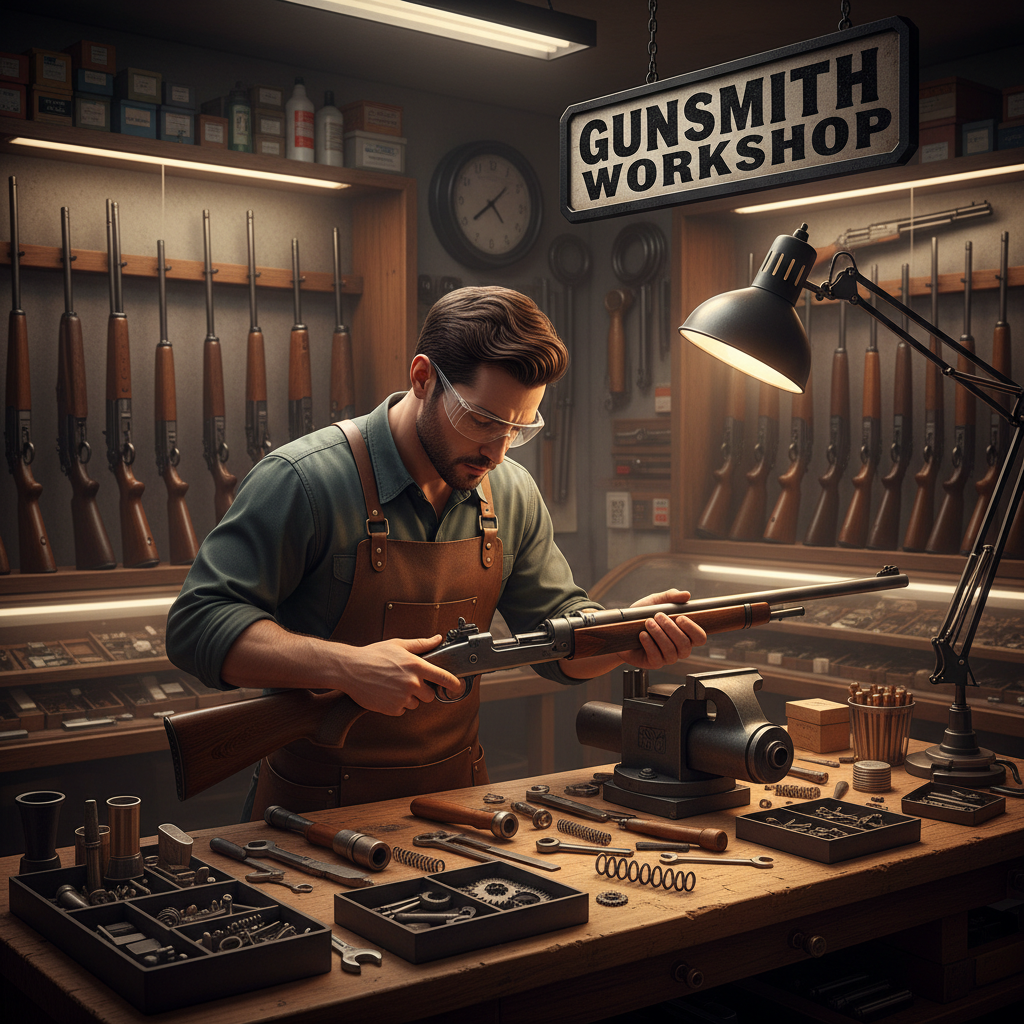
Even the highest quality components will fail if the installation process is flawed. In our shop, we frequently see rifles where the mounting looks correct at a glance, but a closer inspection reveals errors that guarantee the scope won't hold zero under field conditions. The most common technical mistake involves torque. Many DIY installers reach for a standard wrench and tighten screws until they feel tight, often accidentally applying foot-pounds of pressure when the hardware specifically requires inch-pounds. Most ring manufacturers recommend between 15 and 25 inch-pounds; exceeding this by even a small margin can crush the main tube, binding the internal erector assembly and preventing the magnification or adjustment dials from functioning correctly.
Preparation of the hardware is another step that is frequently skipped. New rifles and mounting sets often come with a light coat of factory oil to prevent rust during shipping. If you do not thoroughly degrease the screw holes and the threads with a dedicated cleaner before applying thread locker, the bond will fail. The oil acts as a barrier, allowing screws to vibrate loose after just a few boxes of ammunition.
Properly aligning the optic is equally critical for accuracy. If the reticle is canted, meaning the vertical crosshair is not perfectly perpendicular to the rifle’s bore, your adjustments will never be true. When you dial for elevation, a canted scope will also move your point of impact horizontally. Beyond the mechanical alignment, you must consider eye relief and the physical geometry of the shooter. In Vermont, we often hunt in thick brush or cedar swamps where shots are taken quickly and from awkward positions.
Issue | Consequence | Technical Fix |
|---|---|---|
Over-torquing | Crushed tube, frozen internals | Use a calibrated inch-pound torque driver |
Oily Threads | Screws backing out under recoil | Degrease with solvent before assembly |
Improper Eye Relief | Scope bite or scope shadow | Adjust for heavy winter clothing layers |
Canted Reticle | Point of impact drift | Use leveling levels on both action and turret |
We advise customers to set their eye relief while wearing their actual hunting coat. A rifle set up while you are wearing a t-shirt at the range will have a different distance to your eye than when you are wearing heavy wool layers in Mendon or Shrewsbury. If the relief is too short, you risk scope bite, where the recoil drives the ocular lens into your eyebrow. If it is too long, you will experience scope shadow, a dark ring around the image that obscures your field of view. If you are unsure about your setup, contact the team at ELC Pews or bring your rifle in for to ensure your new selection of firearms and optics is ready for the woods.
Boresighting vs. Zeroing: Knowing the Difference Before Heading to the Range
Once your mounting hardware is secure and your eye relief is set, you need to align the optic with the barrel before firing a single shot. This process is boresighting. It is important to understand that boresighting is a preliminary step intended to get your shots "on paper" at 25 yards; it is not a replacement for live-fire zeroing. Even if your scope won't hold zero due to a mounting issue you just fixed, you still need to verify the point of impact at the range with your chosen hunting load.
There are two primary methods for this alignment. For bolt-action rifles, the traditional method involves removing the bolt and looking through the bore to center a target at a distance, then adjusting the reticle to match that centered image. For semi-automatics or lever-action rifles where the bore is not easily accessible, we use precision laser bore sighters. these devices sit in the chamber or muzzle to project a dot onto a target, allowing for a quick mechanical alignment.
Method | Process | Best For |
|---|---|---|
Visual Boresighting | Looking through the barrel at a fixed point | Bolt-action rifles |
Laser Boresighting | Using a laser to project a point of aim | AR-platforms, levers, and pumps |
Live-Fire Zeroing | Adjusting dials based on actual bullet impact | Final confirmation for all rifles |
A professional boresight at ELC Pews ensures that your first shot at the range is near the bullseye. With high-quality hunting ammunition often costing several dollars per round, spending half a box just to find the paper is an unnecessary expense. When you purchase from our new selection of firearms and optics or bring in a rifle for professional gun services , we handle this alignment to save you time and money. Once we get you on paper, you can focus your range time on fine-tuning the zero for the specific distances you expect to see in the Vermont woods. If you have questions about your current setup, contact the team at ELC Pews to schedule a bench check-up.
The Vermont Factor: How Weather and Travel Affect Your Optics
Vermont's environment introduces variables that many generic guides overlook. The most significant factor is the thermal shift. A rifle zeroed during a 50 degree afternoon at the range will behave differently on a 15 degree opening morning in the Green Mountains. Steel and aluminum expand and contract at different rates. If your mounting hardware is under tension from uneven torque, these temperature swings can exert enough mechanical stress to ensure your scope won't hold zero when that buck finally steps out.
Rugged terrain also plays a role. Rutland County hunters often transport rifles in truck racks or cases over miles of washboard gravel roads. Constant vibration acts as a low frequency impact driver, slowly backing out any screw that was not secured with a high quality thread locker. We frequently see rifles brought in for professional gun services where the base screws have vibrated loose during the drive to camp.
Environmental Factor | Physical Impact | Prevention Tip |
|---|---|---|
Temperature Swings | Metal expansion and contraction | Check torque values in cold weather |
Rough Backroads | Vibrational loosening of screws | Apply appropriate thread locker |
High Humidity | Micro-corrosion on mating surfaces | Degrease and treat hardware before mounting |
Vermont's humidity can lead to oxidation between the rings and the scope tube. Moisture trapped in the tight tolerances of a mount can cause micro-corrosion that shifts the optic's seating position. When you browse our new selection of firearms and optics, we recommend checking that all mating surfaces are clean and protected. If you have concerns about how your gear will handle the elements, contact the team at ELC Pews for a seasonal inspection.
Choosing the Right Optics for the Vermont Woods
Environmental durability is just half the battle; the physical environment of Rutland County also dictates what glass you should be using. If you are tracking through a thick cedar swamp in Wallingford, a massive 5-25x precision scope is a liability. High magnification narrows your field of view so much that finding a buck in the brush becomes nearly impossible. For these close-in scenarios, a quality red dot or a Low Power Variable Optic (LPVO) is often the superior choice.
When comparing a red dot vs scope for hunting in the Green Mountains, consider your typical engagement distance. A red dot offers unlimited eye relief and rapid target acquisition, which is ideal for the heavy timber and steep climbs in Mendon. However, if you are hunting the open edges of the Champlain Valley, the 1-6x or 1-10x range of an LPVO provides the magnification needed for a 200 yard shot while still functioning like a red dot at 1x for close encounters.
Optic Type | Best Environment | Key Advantage |
|---|---|---|
Red Dot | Thick brush, cedar swamps | Fastest target acquisition |
LPVO (1-6x) | Mixed timber and field edges | Versatility at all VT ranges |
High Mag (4-12x+) | Champlain Valley farm fields | Precision at longer distances |
Selecting the wrong optic for the terrain often leads to hunters fighting their gear rather than focusing on the shot. If your current new selection of firearms and optics feels unbalanced or if your high-power scope won't hold zero because the mounting system is over-leveraged by the sheer weight and length of the glass, a switch to a lighter, more appropriate optic might be the solution. You can contact the team at ELC Pews to discuss which magnification range fits your specific hunting spot before committing to professional gun services for the final install.
Professional Scope Mounting Services at ELC Pews in Rutland

Having the right glass for the Mendon woods is only half the battle; the final step is ensuring it is anchored correctly. At ELC Pews, Eric, Lee, and Mike approach mounting as a precision mechanical assembly. We do not simply snug screws until they feel tight. We utilize calibrated inch-pound torque drivers to meet exact manufacturer specifications. This level of precision ensures that a scope won't hold zero due to a crushed erector tube or loose hardware, common issues that plague home installations.
When a rifle comes in for professional gun services, we check the alignment of the rings. If the mounting surfaces are slightly out of spec, we perform professional lapping. This process involves using a precision bar and compound to remove high spots, which increases the contact surface area between the ring and the scope tube. This extra step prevents the optic from slipping under the heavy recoil of a .30-06 or .300 Win Mag.
Service Step | Tool Used | Purpose |
|---|---|---|
Hardware Torque | Calibrated Torque Driver | Prevent tube crushing or screw loosening |
Ring Lapping | Lapping Bar & Compound | Increase surface contact for grip |
Reticle Alignment | Precision Levels | Eliminate cant for true tracking |
We also use specialized leveling systems to ensure the reticle is perfectly perpendicular to the rifle's action. This eliminates cant error, which is vital for long-range shots across a Champlain Valley cornfield. If you have recently acquired a new selection of firearms and optics or need a check-up for a private collection, bring your gear into our Rutland shop. You can contact the team at ELC Pews to schedule a bench inspection before the season begins.