To learn how to sight in a rifle for deer hunting, begin by bore sighting at close range to align your barrel with the scope reticle. Next, fire a three-shot group at 100 yards and adjust your windage and elevation turrets to shift the point of impact toward the target center. Repeat this process until your shots are precise; this ensures your rifle is properly zeroed for the field.
There is no worse feeling in the Vermont woods than watching a trophy buck bound away after a shot you were certain was true. Often, the culprit is not your marksmanship, but a rifle that was never properly zeroed for the specific demands of our terrain. Whether you are navigating thick cedar swamps or peering across a mountain ridge, confidence in your equipment is the foundation of a successful harvest. A precise zero ensures that your point of aim matches your point of impact, accounting for every variable from mechanical alignment to environmental shifts. In this guide, we will break down the professional process of sighting in your rifle. You will learn how to choose between a 50 yard and 100 yard zero, the technical steps of bore sighting, and how to adjust for Vermont’s unique humidity and temperature to ensure your first shot counts.
Why Proper Zeroing Matters for the Vermont Woods
Ethical hunting in the Green Mountains begins with a rifle you can trust. Unlike the open plains of the Midwest, Vermont hunting involves dense brush, thick timber, and significant elevation changes. When you are tracking through the ridges around Rutland, your target window is often measured in inches between hemlocks and maples. A precise zero is the only way to ensure a clean, one-shot harvest.
Many customers at our Rutland gun store ask, "What is the best distance to zero a rifle for deer hunting?" In Rutland County, where shots are frequently taken at distances under 100 yards, a precise zero is critical for success. If your rifle is off by even an inch at the range, that error can be magnified when shooting at steep angles or through a narrow gap in the brush. Learning how to sight in a rifle for deer hunting specifically for these conditions minimizes the risk of a deflected bullet or a wounded animal.
Before heading to local shooting ranges, ensure your hardware is ready. Accuracy issues often stem from the initial setup, which is why we provide professional scope mounting to ensure your optic is secure before you fire the first shot.
The Foundation: Professional Scope Mounting and Alignment
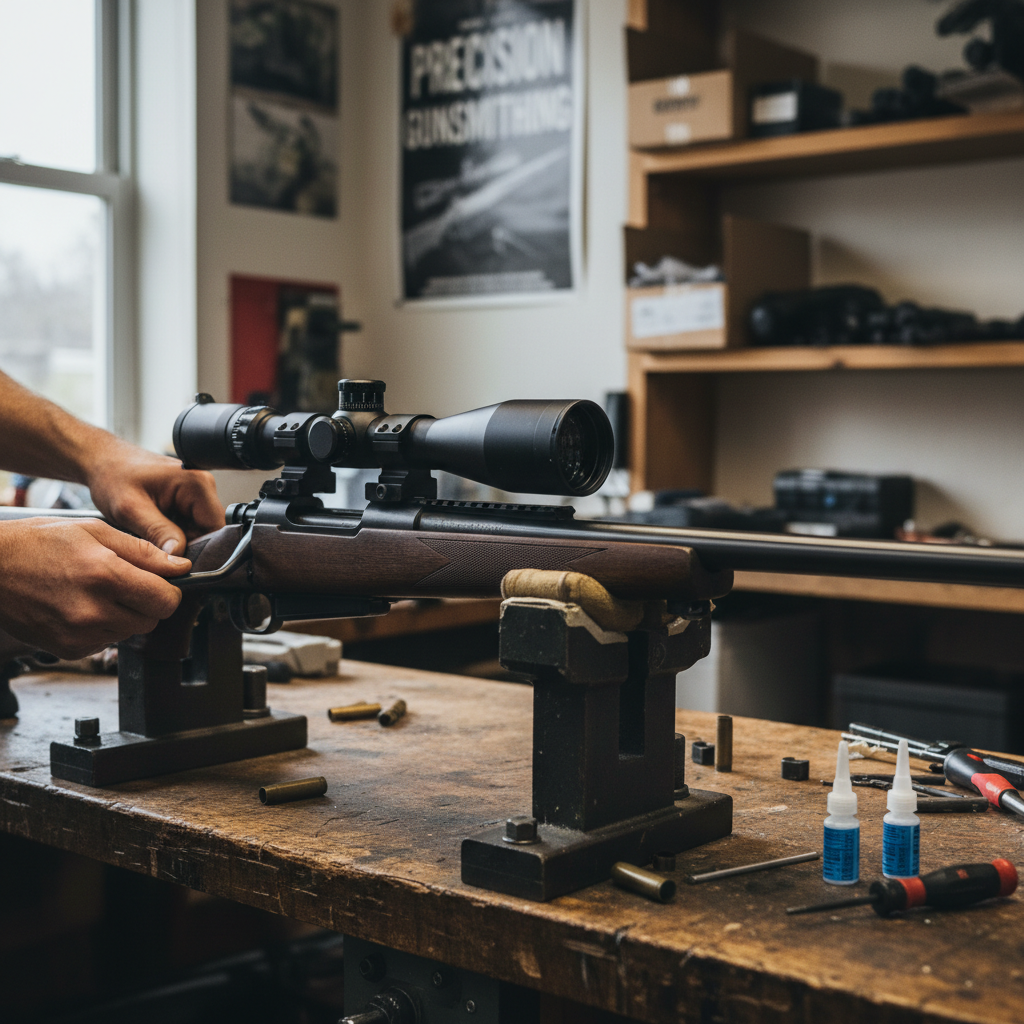
Accuracy starts long before you pull the trigger at the range. If your mounting hardware is compromised, your zero is a moving target. Loose rings are a frequent culprit, often caused by inconsistent tightening that allows the optic to shift under the heavy recoil of common hunting calibers like the .30-06. Even a microscopic shift in the tube during a shot makes consistent groups impossible.
Reticle alignment is equally critical. A canted reticle, where the crosshairs are not perfectly perpendicular to the bore, introduces a mechanical error that grows with every yard of distance. When you adjust your turret to move the impact up, a canted scope will actually move the point of impact diagonally. In the steep, uneven terrain surrounding Rutland, this mechanical flaw can cause a complete miss on a downhill or uphill shot.
We provide professional scope mounting to eliminate these variables before you head into the woods. Our process involves setting the correct eye relief, which is the specific distance between your eye and the rear lens. Proper eye relief ensures you get a full, clear field of view the moment you shoulder your rifle, which is vital when a buck appears suddenly in thick brush.
We utilize precision leveling tools and adhere strictly to manufacturer torque specs for every screw on the base and rings. Over-tightening can easily crush or mar a scope tube, while under-tightening leads to the optic sliding forward under recoil. By verifying the mechanical integrity of your setup first, you avoid wasting expensive hunting ammunition on a rifle that was never properly secured.
Choosing Your Zero Distance: 50 Yards versus 100 Yards
With the hardware secured, you must choose a zero distance that reflects your hunting environment. In the dense hemlock stands of the Green Mountains, a 50-yard zero is a practical choice for many who visit our Rutland gun store. Because a bullet travels in an arc, a 50-yard zero keeps your point of impact very close to your point of aim for the quick, short-range shots typical of Vermont brush.
For those seeking more versatility, the 100-yard zero remains the gold standard. A common question at local shooting ranges is, "if my gun is sighted in at 100 yards, where will it hit at 50 yards?" For popular calibers like .30-06 or .308 Win, the bullet is still climbing toward the line of sight at 50 yards. This usually results in a point of impact roughly 0.2 to 0.5 inches low. Understanding this trajectory is a vital part of learning how to sight in a rifle for deer hunting effectively.
Caliber | Zero Distance | 50 Yard Impact | 100 Yard Impact | 150 Yard Impact |
|---|---|---|---|---|
.308 Win (150gr) | 100 Yards | -0.4" | 0" | -1.5" |
.30-06 (180gr) | 100 Yards | -0.3" | 0" | -1.7" |
.30-30 Win (150gr) | 50 Yards | 0" | -1.2" | -5.5" |
Hunters searching for the best 100 yard zero at 50 yards are looking for a specific mechanical offset. If you can place your groups about half an inch low at 50 yards at the range, you are typically centered for a 100-yard shot. This setup provides the confidence to take a buck in a tight clearing or a longer shot across a power line cut.
Essential Gear for a Successful Range Day
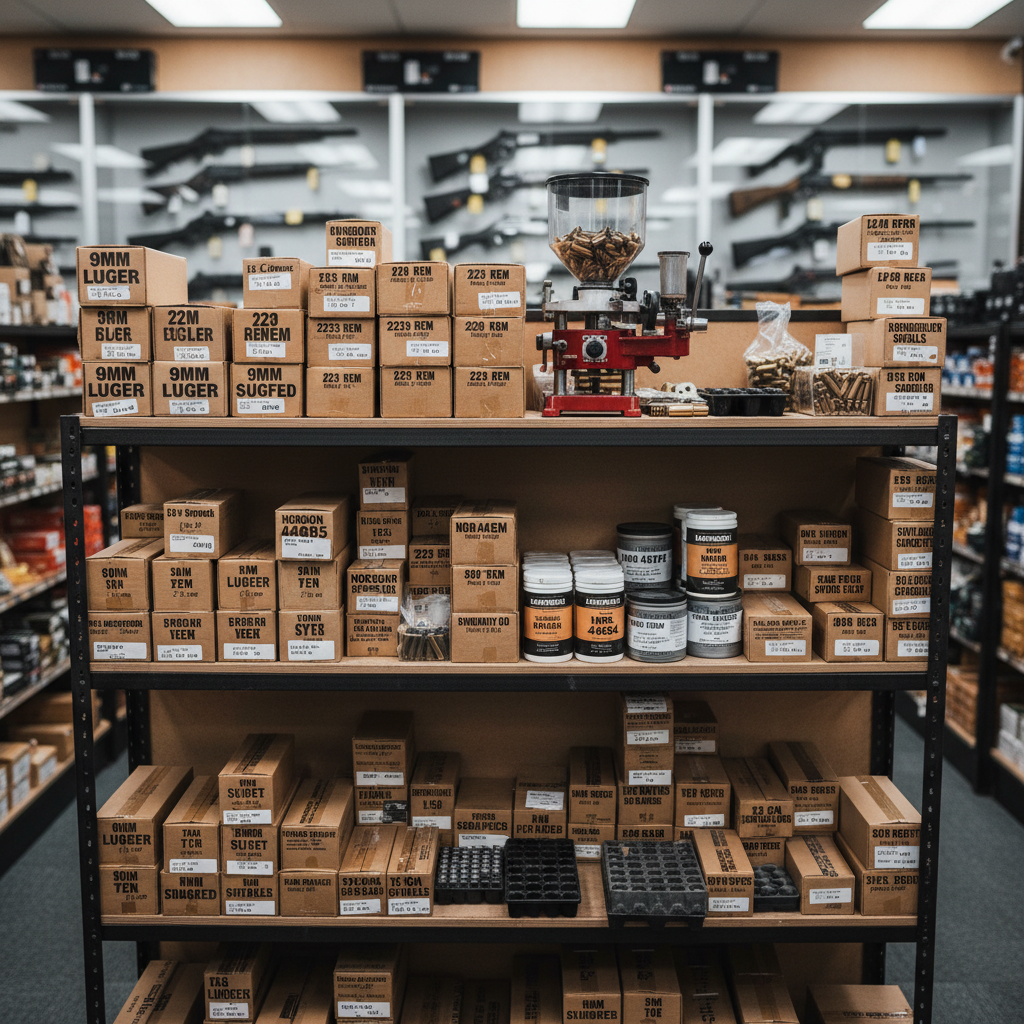
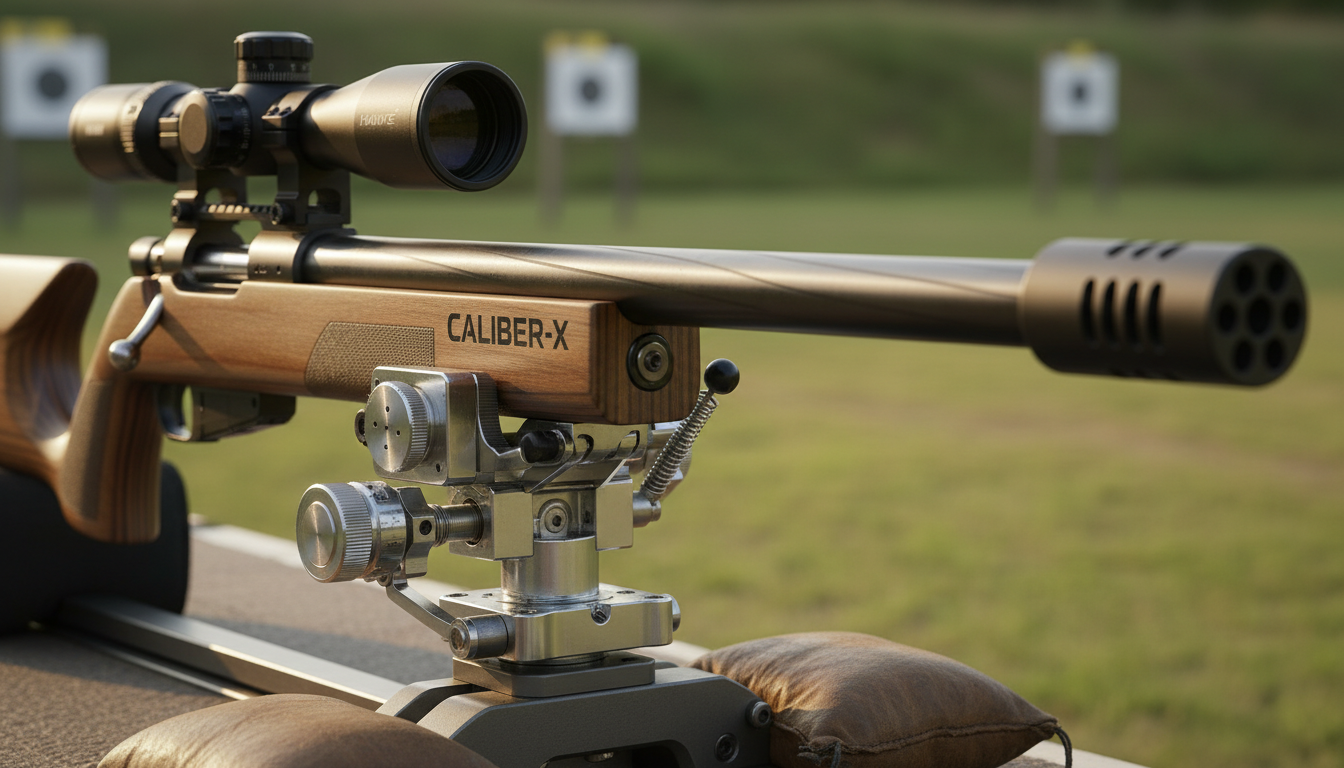
Once you decide on a zero distance, you must gather the equipment that ensures consistency and isolates the rifle's performance from your own body movements. A rock-solid platform is non-negotiable for an accurate zero. Use a heavy Lead Sled or high-quality sandbags to stabilize the forend and stock, which prevents the heart-rate-induced reticle wobble common when shooting off-hand or from a flimsy bipod.
Select grid-style targets specifically designed for sighting in. These targets are marked in one-inch or MOA-based increments, allowing you to calculate turret adjustments instantly without needing a ruler. Safety gear is equally vital; never head to local shooting ranges without high-decibel hearing protection and impact-resistant eyewear.
The most critical gear choice is your ammunition. The most common mistake we see at our Rutland gun store is hunters zeroing with cheap, full metal jacket (FMJ) range ammo to save money. Different bullet weights and shapes have distinct ballistic coefficients and velocities. A rifle zeroed with 150-grain range rounds may hit three inches off at 100 yards when switched to a 180-grain premium hunting projectile. You must finalize your zero using the exact brand and weight of ammunition you intend to use during the season.
Step 1: Bore Sighting Your Rifle
Before firing a single round of expensive hunting ammunition, you must align the bore with the optic. This process, known as bore sighting, ensures your first shot hits the paper target rather than the dirt berm. If you are using a bolt-action rifle, you can perform a visual bore sight at home or at the range. Start by removing the bolt and placing the rifle on a steady rest. Look through the barrel from the breech end and center a distinct object, like a bullseye at 25 yards, within the circle of the bore. Without moving the rifle, adjust your scope turrets until the reticle rests on the center of that same object.
For rifles where the bore is not easily accessible, such as lever-actions or semi-autos, a laser bore sighter is a practical alternative. If you are unsure about the process, our team at ELC Pews provides professional bore sighting at our Rutland gun store. Remember, this step is only designed to get you "on paper." It is the first stage in learning how to sight in a rifle for deer hunting; it does not account for ballistic drop or barrel harmonics. You must still proceed to live-fire confirmation at local shooting ranges to secure a final zero.
Step 2: The 25 Yard Confirmation
Once the bore sight is complete, set your target at 25 yards. This short distance is the most efficient way to ensure you are on paper without wasting premium hunting rounds. Fire a three-shot group while maintaining the exact same point of aim for each shot. Do not adjust your turrets between these shots; you need a consistent cluster to see where the rifle is actually printing. If the group is two inches low and one inch left, you must adjust the dials to bring the impact to the center.
A common question we hear at our Rutland gun store involves which way to turn scope turrets. Look for the arrows on your dials. The "Up" marking indicates the direction to turn the turret to move the bullet’s point of impact higher, while the "Right" marking moves it toward the right. To sight in a rifle at 25 yards then 100, remember that at this closer distance, one click on a 1/4 MOA scope only moves the impact 1/16 of an inch. You will need four times as many clicks to move the group one inch compared to what you will require later at the 100-yard lanes of local shooting ranges. Mastering this step is a fundamental part of learning how to sight in a rifle for deer hunting before moving to long-range confirmation.
Step 3: Dialing in at 100 Yards
Move your target to the 100-yard line to finalize the process. At this distance, the math for Minute of Angle (MOA) becomes much more intuitive. Most hunting optics sold at our Rutland gun store utilize 1/4 MOA adjustments, where four clicks move the point of impact approximately one inch. Compare this to the sixteen clicks required for that same one-inch movement at 25 yards. While many traditional guides suggest three-shot groups, we advocate for a five-shot string to achieve better statistical reliability. A larger sample size reveals the true center of your rifle's capability and prevents you from chasing a single "flyer" caused by a localized gust of wind or a slight trigger flinch.
After your five-shot group is centered exactly where you want it, you must "slip the scales." This involves loosening the set screws on your turret caps and rotating the physical dial so the zero mark aligns with the indicator line on the scope body. This does not change your internal settings; it simply indexes your turrets. If you ever need to adjust for distance or wind at local shooting ranges, you can always return to this precise baseline. Completing this step ensures your rifle is mechanically indexed and ready for the season. This final calibration is the hallmark of knowing how to sight in a rifle for deer hunting with professional precision.
Factoring in Vermont Environment: Temperature and Moisture
Vermont weather introduces variables that static range guides often ignore. A rifle zeroed during a 70 degree afternoon in September will perform differently on a 20 degree November morning in the Green Mountains. Cold air is denser than warm air, which increases drag and potentially lowers your point of impact. Furthermore, high humidity can cause traditional wood stocks to swell against the barrel, shifting your zero unexpectedly.
When learning how to sight in a rifle for deer hunting, you must account for these seasonal shifts. Visit local shooting ranges for a final confirmation shot once the temperature drops. If your groups have migrated, our team at the Rutland gun store can help troubleshoot issues like barrel bedding or professional scope mounting to ensure your rifle remains stable despite the changing Vermont climate.